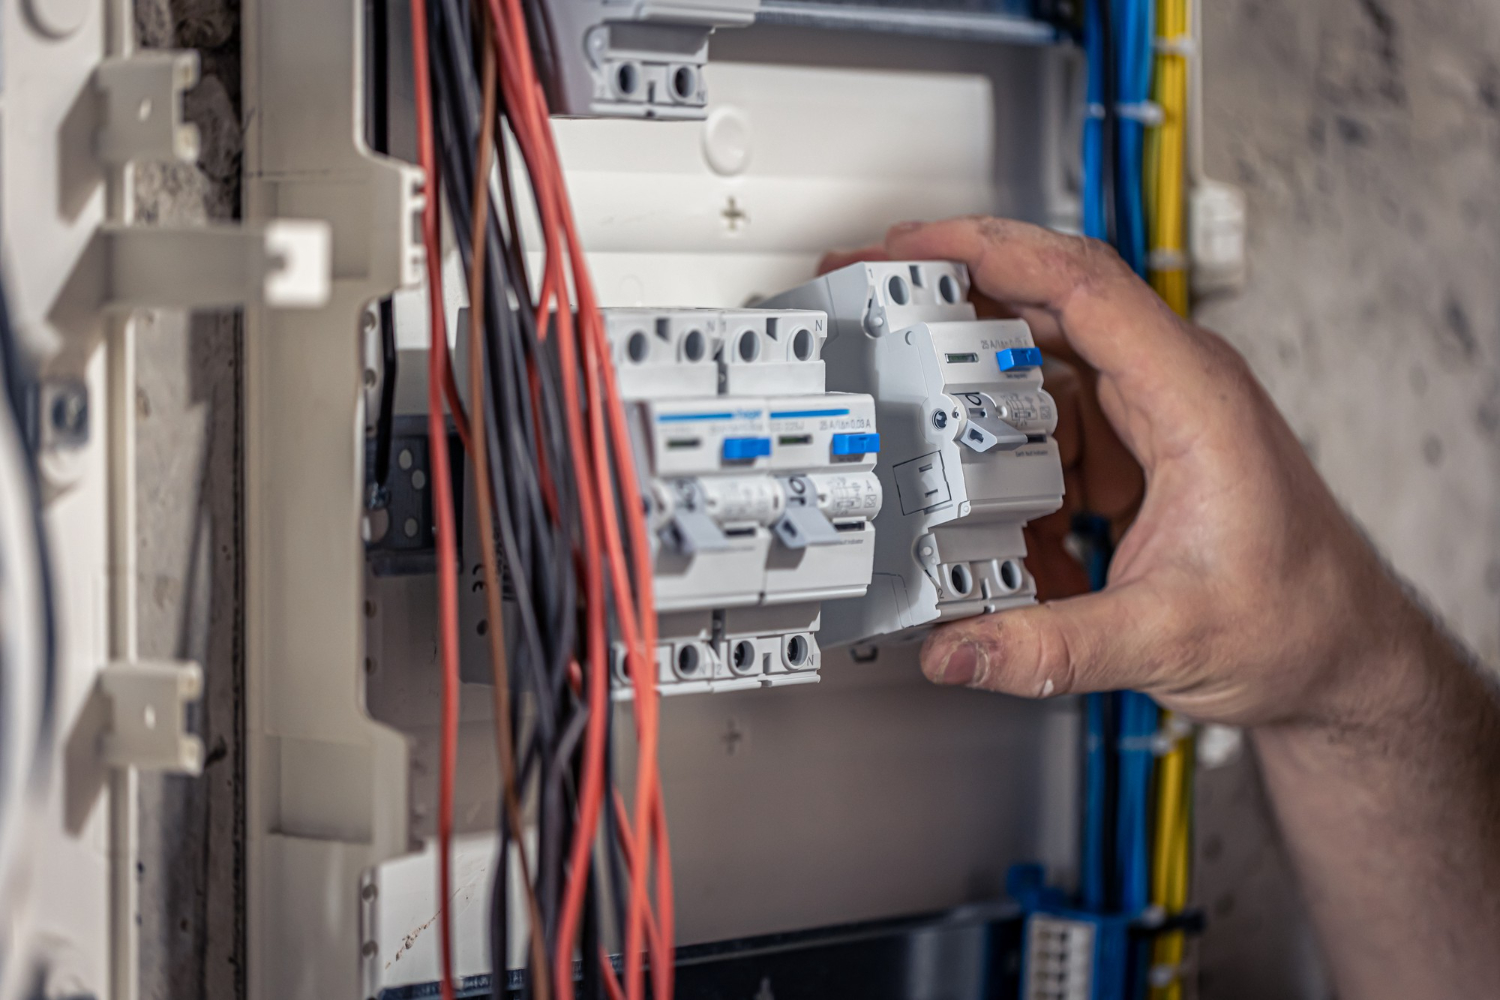
Circuit breaker panel wiring is not something that you should try to DIY if you don’t know what you’re doing. Your circuit breaker is the panel that connects your home to the service power in your area, the main wires are fed into your home via the circuit breaker.
It’s important to ensure that you understand how electrical currents work when wiring a circuit breaker panel, and know all the safety procedures involved with working with electricity.
It’s best to call a professional if you decide to go the DIY route, ensure that your work is checked and signed off by a licensed professional to ensure your safety.
Tools You’ll Need For Circuit Breaker Wiring
A circuit breaker is the most important safety feature in your home. Its function is to interrupt the electrical circuit and discontinue electrical flow when it detects a problem. This process is referred to as circuit wire tripping. Working with electricity can be extremely dangerous so you need to ensure that you have the correct tools and safety equipment.
You will need:
- Plywood or a rubber mat to stand on and earth yourself
- An insulated flashlight
- Insulated hammers, screwdrivers, and wire strippers
- Safety goggles
- Cable connectors
- Rubber-soled safety shoes
- A voltage tester
- Electrical tape
- Leveling Device
11 Steps for Electrical Circuit Breaker Panel Wiring
1. Inspect Feeder Wires for Power
When wiring a breaker panel ensure that the feeder wires have been switched off and that there is no positive charge. Check for current using a voltage tester before you begin.
2. Open the Knockouts in the Box
A knockout box will need to be opened for each branch circuit that will enter the breaker box. The knockouts are round metal discs that are visible from the bottom, tops, and sides. They are located at the back of the box.
The knockouts can be opened individually using an insulated screwdriver. Once the knockouts are removed, the conduit or cable connectors can be connected to the circuit breaker. They need to be secured using knurled locknuts threaded onto the tailpieces of the connectors.
3. Place the Circuit Breaker Panel
To mount the circuit breaker onto the wall it will first need to be leveled and then anchored to the wall. The anchor screws need to be driven through the back of the panel into the wall. Ensure that the holes align with the studs behind the panel.
If the service wires are entering the house through the conduit, carefully position it, so that the conduit slides into the fitting already mounted on the service panel.
4. Set up the Main Service Wire
Use fish tape to tape through the main service conduit opening from inside the panel to the entry point outside your home. There are 3 main service wires. 2 black wires, or hot wires, and a white neutral wire. Secure the main service wire with electrical tape and pull it back down into the breaker panel.
You may require assistance to push the wires from the outside while the fish tape is pulled from the inside. Use plenty of excess wire to allow for connections to be made anywhere else in the box when needed.
5. Attach the Main Ground Wire
Grounding the electrical current is essential. The main ground wiring is usually bare copper. This wire is fed into the panel and connected to the main grounding connection. This is usually a metal lug at the end of the ground bus bar.
The main grounding wire is connected to the grounding rod. If there are additional grounding wires that can be connected to the same grounding lug in the electrical wiring circuit breaker panel, the service panel.
6. Attach Main Service Neutral
The neutral wire is now connected to the neutral bus bar. The location of this bus bar will depend on the circuit breaker box that you have. Look for a bar that is located far away from the 2 hot bus bares. Look for a silver-colored bar that has many small screws and connection points. There will be a large hole for the neutral main service wire.
7. Attach the Main Breaker
In this step, the electrician will bend the 2 black service wires and connect them to the main breaker. The 240-volt circuit breaker is located at the top of the panel. It controls all the power entering the home and connects both hot bus bars that run vertically through the panel.
The ends of the service wires must be stripped of some insulation to make a connection to the main circuit breaker terminal lugs. Bare wires can be very dangerous and cause a safety hazard if not installed correctly. The bare ends of the 2 main service wires are then inserted into the lugs on the main breaker. These are then secured in place. Your panel is now ready to have individual circuits installed.
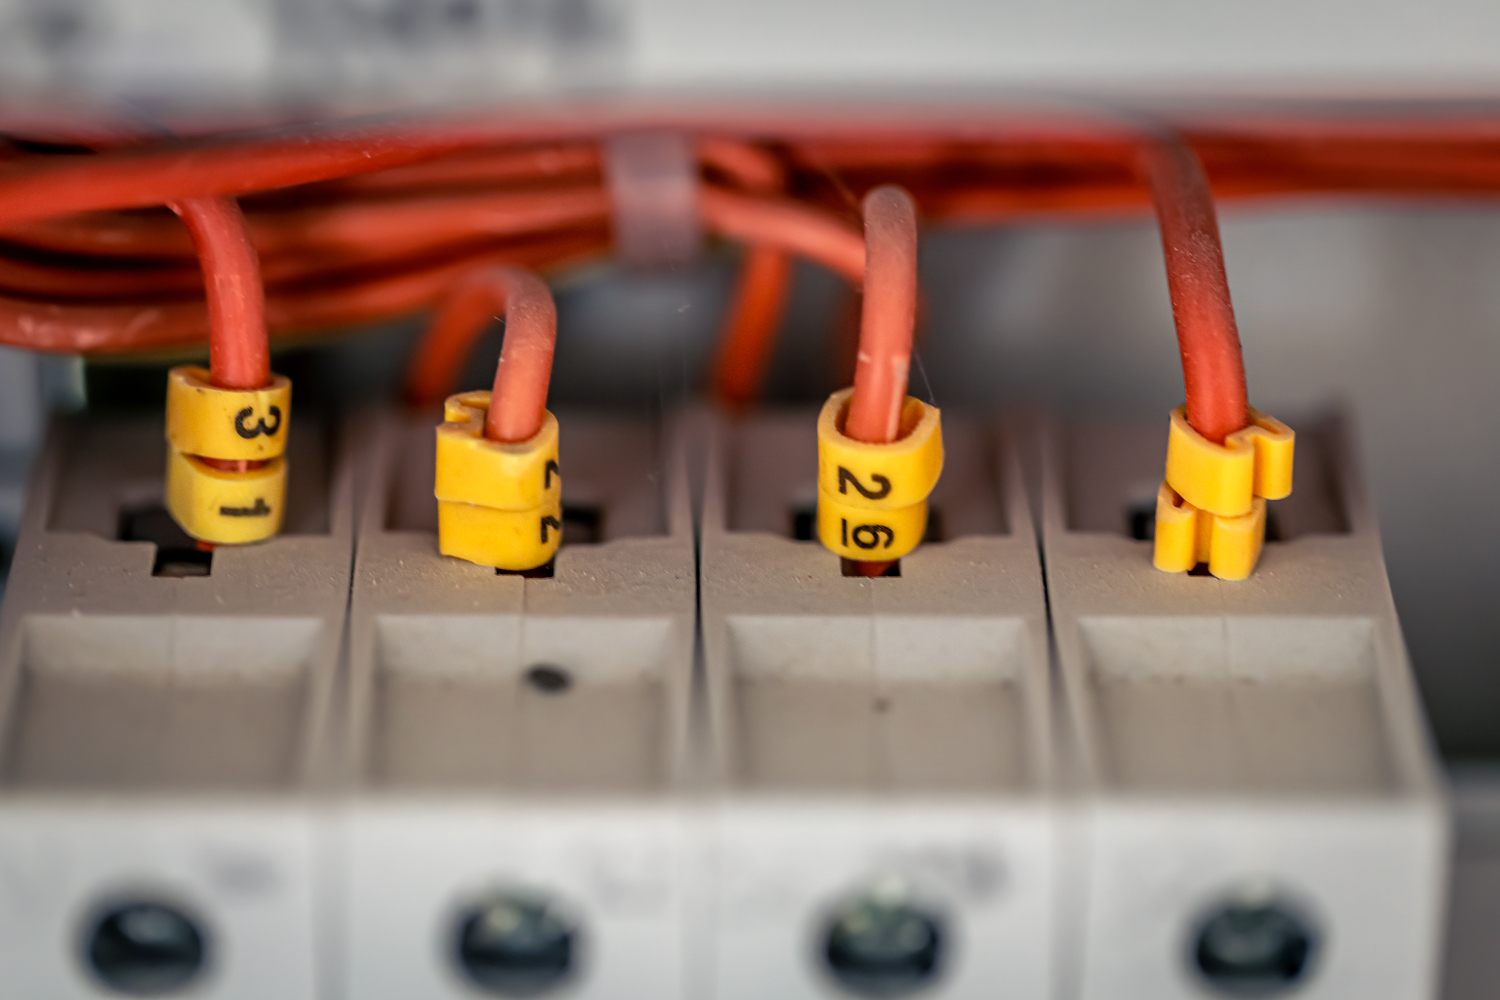
8. Pull the Wires for Branch Circuits
The wires will now need to be pulled for the various branch circuits into the panel. If the wires enter the panel through a metal conduit, use the fish tape to pull them into the panel. If it uses NM wiring, NM connectors are held tightly with screws that tighten down onto a yolk. Use more wire than you think is necessary to decrease the margin for error. The extra wire can be looped along the inside of the panel once you are done.
On the NM cable, the outer plastic sheathing of the cable needs to be cut away so that a portion remains where the cable enters the panel. The electrician will then strip away a short piece of insulation from each conducting wire. You must use a special stripping tool to assure no damage is done to the metal wires.
9. Attach the Branch Circuit Ground Wires
The next step is to connect all the green and bare copper wires for the branch circuits to the ground bus bar inside the panel. The ends of the wires need to be inserted into the openings in the bus bar and then secured tightly using screw sets.
10. Attach Branch Circuit Breakers
Connect the circuit breaker for each branch circuit, one at a time. The breakers must be carefully chosen to match the required amperage and voltage and to meet code requirements.
- Some breakers will be GFCI-style breakers.
- AFCI-style and others may be combination style breakers. Special breakers will have a coiled pigtail wire. There will also be standard-style breakers that have no pigtail wires, only lugs for hot wire connections.
Connect the circuit’s neutral wire. On standard-style breakers, the circuit’s neutral wire will be attached to the neutral bus bar in the panel.
On AFCI, GFCI, or combination AFCI breakers, the circuit’s neutral wire will be connected directly to the breaker, using a screw terminal labeled “Panel Neutral” or “White.
Attach the circuit’s hot wire, this will be either black or red. On AFCI or GFCI breakers, this circuit wire will be attached to the terminal marked “Load Power” or “Black.”
Finally, for AFCI or GFCI breakers, attach the breaker’s coiled white pigtail wire to the neutral bus bar in the panel. Now, the circuit breaker can be snapped into its panel slot.
Loop any excess wire along the inside edges of the panel. This will make it possible to easily carry out repairs or replacements in the future.
11. Finish the Installation
The cover can now be put back. The electrician will notify the utility company to turn the power back on. They will ensure that the circuit breaker and all the circuits are operating correctly. They will label the switches to make it easy to identify the individual circuits.
Contact ESD for High-Quality Circuit Breaker Panel
If you’re looking for top-quality products that you can trust then visit ESD to find out how we can assist you.
Our technicians are there to offer expert advice and can assist you with anything else that you may require. For assistance with electrical wiring home circuit breaker panels, we are your best bet.
Call us today so we can assist you with your circuit breaker panel wiring. Stay safe and leave the circuit breaker wiring to the experts.